Introduction
You invested in a good laminator. You bought quality film. You trained your staff. So why do you still get bubbles, wrinkles, and peeling edges on some jobs?
The truth is: perfect lamination is not about having the most expensive machine — it is about controlling the entire process. From the moment your print comes off the printer to the final cut, every step matters. Get one variable wrong, and you will see it in the finished product.
After 18+ years building laminators for print shops in 110+ countries, MEFU have seen every lamination mistake there is — and we have learned what separates shops that deliver consistent, flawless results from those that waste meters of film on re-runs.
In this guide, we will walk you through the entire lamination process: pre-press preparation, machine setup, running the job, troubleshooting common problems, and post-lamination handling. Whether you are running a cold, warm, or hot laminator, these principles will help you get perfect results every time.
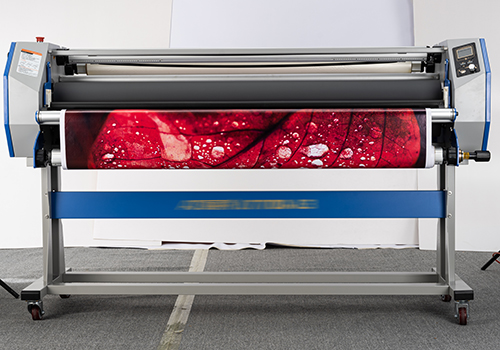
Part 1: Before You Laminate — Preparation Is Everything
Most lamination failures happen before the film even touches the print. Skipping prep steps is the #1 cause of re-runs.
1.1 Check Your Print
The quality of your lamination starts with the print itself.
· Make sure the ink is fully dry. Freshly printed ink can trap solvents that cause bubbling or clouding after lamination. For solvent and eco-solvent prints, allow at least 24 hours of outgassing before laminating. For latex prints, follow the printer manufacturer's recommendations (usually 1–4 hours).
· Clean the print surface. Dust, lint, and debris on the print surface will show through the film and create bumps. Use a lint-free cloth or a static brush to clean the print before feeding it into the laminator.
· Check for warping or curling. Prints that have curled edges will not feed evenly. If your print is curled, leave it flat under weight for a few hours, or use a print heater to relax the material.
1.2 Choose the Right Film
Not all laminate film is created equal. Using the wrong film for the job is a common mistake.
| Film Type |
Best For |
Key Considerations |
| Gloss (Clear) |
Photos, vibrant graphics, retail displays |
Enhances color saturation; shows fingerprints |
| Matte |
Art prints, menus, read-heavy graphics |
Reduces glare; softer look; hides minor imperfections |
| Satin/Lustre |
Photography, fine art, premium products |
Middle ground between gloss and matte |
| Anti-Graffiti |
Outdoor signs, public displays, vehicle wraps |
Scratch-resistant; cleanable; thicker |
| UV-Stabilized |
Long-term outdoor applications |
Prevents yellowing and degradation from sunlight |
| Textured |
Luxury packaging, high-end retail |
Adds tactile feel; more expensive |
Pro tip: Always test a new film with your specific print material before running a full job. Different ink types and media can react differently with different film adhesives.
1.3 Prepare Your Machine
A well-maintained machine produces consistent results. Before every job:
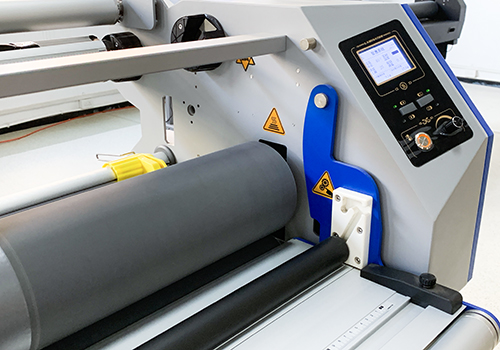
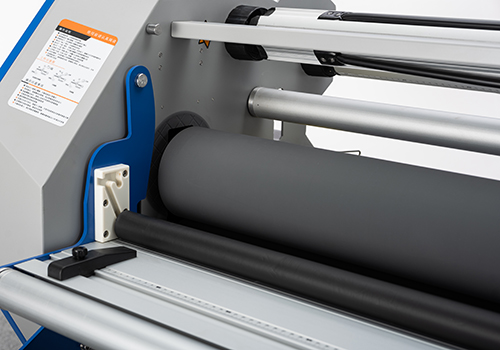
· Clean the silicone rollers. Dust and dried adhesive on rollers cause streaks and uneven pressure. Use the manufacturer-recommended cleaning solvent and a lint-free cloth. Never use abrasive cleaners that can damage the silicone surface.
· Check roller alignment. Misaligned rollers cause uneven pressure, which leads to bubbles on one side of the print. Most industrial laminators (like the MEFU Pro Series) have precision-aligned rollers from the factory, but they should be checked periodically.
· Calibrate the temperature. If your machine has a heated roller, verify that the displayed temperature matches the actual roller temperature using a surface thermometer. Inaccurate temperature readings cause either poor bonding (too cold) or film shrinkage (too hot).
· Check the pressure system. For pneumatic laminators, verify the air pressure is within the recommended range. For manual machines, ensure the pressure adjustment knobs are working smoothly.
· Inspect the cutting blade. A dull cutting blade causes ragged edges and can pull the film. Replace or sharpen the blade regularly.
1.4 Control the Environment
The room where you laminate matters more than you think.
· Temperature: Ideally 18–24°C (65–75°F). Extreme cold makes the adhesive less tacky; extreme heat can cause film expansion.
· Humidity: Ideally 40–60% RH. High humidity can cause moisture trapping between the film and print; low humidity increases static electricity, which attracts dust.
· Clean air: A dusty environment will always produce dusty lamination. If possible, laminate in a separate clean area away from cutting and finishing operations.
Part 2: Running the Job — Key Techniques for Flawless Results
With preparation done, it is time to run the job. These techniques separate professional operators from beginners.
2.1 Set the Right Temperature
If you are using a warm or hot laminator, temperature is the most critical setting.
· Follow the film manufacturer's recommended temperature. This is your starting point. Different films have different adhesive activation temperatures.
· Adjust for your specific print material. Thick materials (like PVC board) may need slightly higher temperature because they absorb more heat. Thin materials may need lower temperature to avoid shrinkage.
· Allow sufficient warm-up time. Do not start laminating until the roller has reached the target temperature and has stabilized. For warm laminators (40–60°C), this usually takes 5–10 minutes. For hot laminators (80–120°C), allow 15–25 minutes.
· Test with a scrap first. Always run a small test piece before the full job. Check the bond quality by trying to peel the film off — it should be difficult to peel, and the adhesive should transfer evenly.
2.2 Control the Speed
Faster is not always better. The right speed depends on your temperature, film type, and material.
· Start at a moderate speed (e.g., 3–5 m/min for cold, 5–10 m/min for warm/hot) and increase gradually after confirming quality.
· Slower speed = more heat transfer time = better bond. If you are getting poor bonding, try slowing down before increasing the temperature.
· High-speed laminators (like the MEFU MF1700-F1 PLUS at 50 m/min) are designed for high-volume production, but even these machines require the right temperature-pressure-speed balance. Do not run at maximum speed until you have confirmed consistent quality at that speed.
2.3 Get the Pressure Right
Pressure ensures even contact between the film and print.
· Too little pressure = bubbles, poor bond, edge lifting
· Too much pressure = film stretching, print distortion, roller wear
· Start with the manufacturer's recommended pressure and adjust based on your test results.
· For pneumatic laminators, use the air pressure gauge to set consistent pressure. The MEFU pneumatic lifting system provides even, consistent pressure across the full width of the roller — eliminating the "soft center" problem common with manual pressure machines.
2.4 Feed and Align Correctly
How you feed the print into the machine affects the entire run.
· Align the print square to the rollers. A misaligned print will track crookedly through the machine, causing uneven edges and material waste.
· Use the machine's alignment guides. Many laminators have edge guides or alignment marks.
· Feed the leading edge straight. Hold the print flat and level as it enters the rollers. Do not push or pull — let the machine pull it through at its own speed.
· Use a leader board for thin or flexible materials that are hard to feed. A rigid leader board attached to the leading edge helps the material enter the rollers smoothly.
2.5 Handle the Start and End
The beginning and end of the run are where most problems occur.
· Start with extra film. Allow 5–10cm of film to run through before feeding the print. This ensures the film is stable and tracking correctly before it meets the print.
· Trim the leading edge. Cut the film at an angle or use a starter tab to prevent the film from curling back on itself as it enters the rollers.
· End with extra film. Allow 5–10cm of film to run after the print exits. This ensures the trailing edge of the print is fully laminated and does not peel up.
· Cut while the machine is running (if your machine has an integrated cutter) or immediately after stopping, while the film is still taut. The MEFU active cutting system provides clean, straight cuts without stopping the machine.
Part 3: Troubleshooting — Fixing Common Lamination Problems
Even with perfect preparation, things can go wrong. Here is how to diagnose and fix the most common problems.
| Problem |
Likely Cause |
Solution |
| Bubbles (small, scattered) |
Dust on print or film; humidity too high |
Clean print and film; reduce room humidity; slow down speed |
| Bubbles (large, along length) |
Speed too fast; temperature too low; pressure too low; Ink too much. |
Slow down; increase temperature gradually; increase pressure |
| Bubbles (only on one side) |
Uneven roller pressure; roller misalignment |
Check and adjust pressure; realign rollers |
| Wrinkles / waves |
Film tension too high; speed too fast; material curled |
Reduce film tension; slow down; flatten material before laminating |
| Edge peeling / lifting |
Pressure too low at edges; temperature too low; film not wide enough |
Increase pressure; increase temperature; use wider film (overhang 5–10mm each side) |
| Cloudy / hazy appearance |
Temperature too low; ink not fully dry; film mismatch |
Increase temperature; allow longer outgassing; verify film compatibility |
| Film shrinking / print warping |
Temperature too high; speed too slow |
Reduce temperature; increase speed; test with scrap |
| Film tracking crooked |
Misaligned feed; roller misalignment; uneven film tension |
Align material carefully; check roller alignment; adjust film tension |
| Streaks / lines in finish |
Dirty roller; damaged roller surface |
Clean rollers thoroughly; inspect for damage; replace roller if needed |
| Adhesive transfer to roller |
Temperature too high; film quality issue |
Reduce temperature; check film storage conditions; clean roller |
The golden rule of troubleshooting: Change one variable at a time. If you change temperature, speed, and pressure all at once, you will never know which one fixed the problem — or caused a new one.
Part 4: After Lamination — Finishing and Care
The job is not done when the print exits the machine. Proper post-lamination handling ensures your work stays perfect.
4.1 Let It Rest
· Do not cut or handle immediately. Freshly laminated material needs time for the adhesive to fully set and for any trapped heat to dissipate. Allow at least 15–30 minutes of resting time before cutting or finishing.
· Rest flat, not rolled. If you must roll the finished print, roll it with the laminate side facing out (not in) to prevent the film from separating at the edges.
4.2 Cut Properly
· Use a sharp blade. A dull blade pulls the film and causes ragged edges. Change blades regularly — a good rule is to change the blade after every 10–20 cuts, or whenever you notice resistance.
· Cut from the laminate side down. This prevents the film from lifting as the blade passes through.
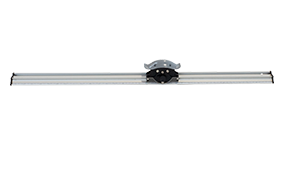
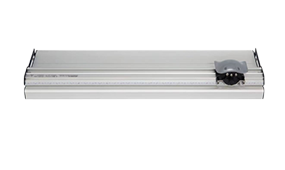
· Use a straight edge. A good quality ruler or cutting guide ensures straight cuts. For production cutting, consider a dedicated trimmer or the integrated cutting system on machines like the MEFU MF1700-C3, which features pneumatic active cutting with automatic skew correction.
4.3 Store Correctly
· Store finished prints flat in a clean, dry area away from direct sunlight and heat sources.
· If stacking, use interleaving paper between prints to prevent the film from sticking to the back of the print above it (especially with gloss film).
· Avoid extreme temperatures during storage and transport. Leaving laminated prints in a hot vehicle can cause film softening and edge lifting.
4.4 Maintain Your Machine
Regular maintenance extends the life of your laminator and ensures consistent results.
· Daily: Clean rollers, check air pressure (if pneumatic), remove dust and debris from the machine.
· Weekly: Inspect rollers for wear or damage, check blade sharpness, verify temperature calibration.
· Monthly: Lubricate moving parts (per manufacturer instructions), inspect electrical connections, check for loose hardware.
· Annually: Professional service by a qualified technician, including roller replacement if needed.
Part 5: How MEFU Laminators Help You Get Perfect Results
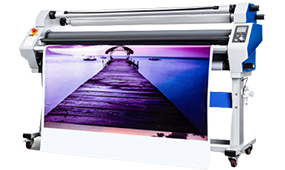
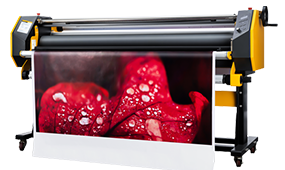
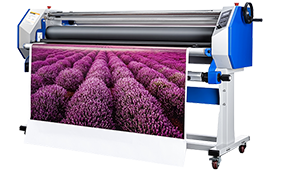
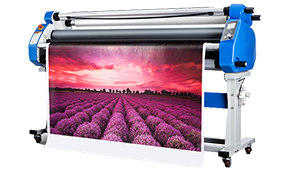
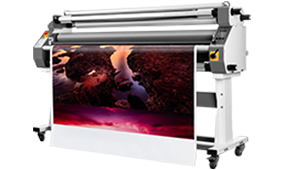
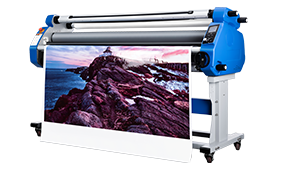
At MEFU, we design our laminators with one goal: making perfect lamination easy and repeatable. Here is how our machines address the common challenges discussed in this guide:
Precision Temperature Control
Every MEFU warm and hot laminator features accurate digital temperature control with front panel displays can continuously monitors and adjusts temperature, ensuring consistent heat across the full roller width — no hot spots, no cold spots.
Premium Silicone Rollers
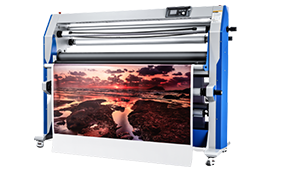
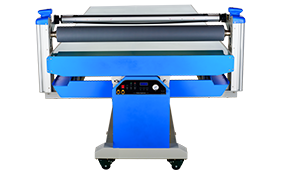
All MEFU laminators use large diameter premium imported silicone rollers. The large diameter provides a longer contact nip (the area where film and print meet under pressure), which means better bonding at higher speeds. The high-quality silicone resists wear, provides even pressure, and is easy to clean.
Pneumatic Pressure System
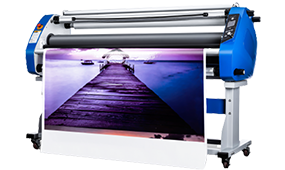
Our pneumatic lifting system delivers even, consistent pressure across the full width of the roller — from edge to edge. Unlike manual spring pressure systems that can develop soft spots over time, pneumatic pressure stays consistent job after job.
Laser Positioning and Anti-Skew
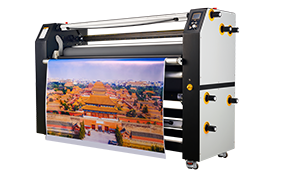
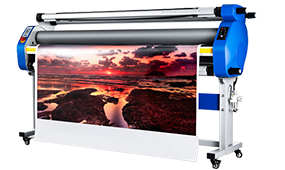
The MF1700-F1 PLUS features an infrared laser positioning system that helps operators align material perfectly, preventing skewing and material waste. For cutting, our active cutting system includes automatic skew correction, ensuring every cut is straight and clean.
Built-In Cutting Systems
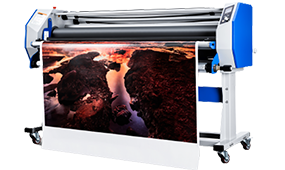
Many MEFU laminators feature integrated pneumatic active cutting, so you do not need a separate trimmer. The cutter produces clean, straight edges without stopping the machine — saving time and improving throughput.
Conclusion
Perfect lamination is not magic — it is process control. Get these five things right, and you will eliminate 95% of lamination problems:
1 Prepare — dry ink, clean prints, quality film, clean machine, controlled environment
2 Set up — correct temperature, speed, and pressure for your specific film and material
3 Feed carefully — align square, feed straight, use leader boards if needed
4 Troubleshoot systematically — change one variable at a time, refer to the troubleshooting table
5 Finish properly — rest before cutting, use sharp blades, store correctly
And remember: the right machine makes all of this easier. A laminator with precise temperature control, even pneumatic pressure, quality rollers, and helpful features like laser positioning and integrated cutting turns a finicky process into a repeatable, high-quality production step.
At MEFU, we have spent 18 years perfecting these machines because we know that your reputation depends on every laminated print that leaves your shop.
Want to learn more about getting perfect lamination results with MEFU equipment? Contact us at info@mefu.cn or visit www.mefu.cn to explore our full range of roll laminators, flatbed applicators, and cutting machines. Our engineering team can help you find the right machine for your specific applications.


 Premium Series