The Art of Waiting and the Efficiency Trade-Off
Lamination is the final step that elevates a printed piece from temporary paper to a durable, professional product. Yet, before that perfect seal is achieved, every user faces a moment of truth: the warm-up.

The question is simple: How long does it take for a laminator to heat up from a cold (room temperature) state?
The duration of this initial "heat-up" is often overlooked, but the consequences of rushing it are immediate and frustrating. Incorrect preheating—whether too short or, rarely, too long—can directly impact the quality of your finished product, leading to common flaws like air bubbles, peeling, "silvering" (cloudy appearance), or even material damage.
The critical takeaway? There is no single answer to the warm-up time question. It is a highly variable factor that depends entirely on your machine model, internal technology, and the required operational temperature.
Understanding these variables is the key to mastering your workflow efficiency.
Analyzing the Key Factors Affecting Warm-Up Time
The time your machine spends "in the red" is governed by a few fundamental engineering and operational choices.
The Tech Factor: Machine Model and Heating Technology
The most dramatic difference in warm-up time comes down to how and where your machine generates heat.
Modern Rapid Heat Laminators: These machines are built for speed. They often utilize PTC (Positive Temperature Coefficient) heating elements or advanced Hot Roller systems, which offer superior heat transfer efficiency. Many high-end models boast a 1–5 minute rapid start advantage, with some claiming to reach a 60-second readiness for low-temperature settings. This is the gold standard for high-volume offices or retail settings where time is money.
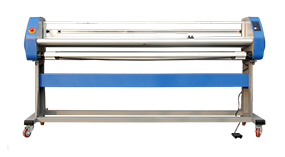
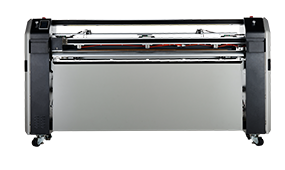
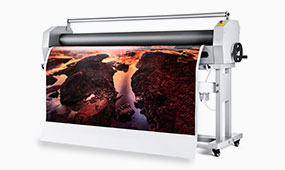
Traditional and Large-Format Machines: If you operate an older model or a large, professional-grade roll laminator, expect a longer wait—typically 10–30 minutes. Why? These units have larger, heavier heating rollers and internal heat plates. More mass requires more energy and time to heat up uniformly. Furthermore, the quality and insulation of these heating elements directly impact the thermal efficiency.
Temperature & Type: The Operational Requirement
The destination temperature—the setting you select on the dial—is the ultimate determinant of how long you wait.
Hot Lamination Temperature (High Heat): 60°~120°This is the standard setting for traditional thermal pouches and films. This process requires the machine to reach and exceed the activation temperature of the thermal adhesive (hot melt glue). Because this is the highest heat setting, it represents the longest preheating cycle. If you need a durable, permanent seal on a standard pouch, this is what you need.
Heat-Assist / Low-Temperature Mode (Low Heat): <60°Often used with cold lamination films to enhance their performance. While cold films adhere via pressure-sensitive adhesives (PSAs), a small amount of low heat is introduced to temporarily soften the adhesive, dramatically improving its flow and wet-out (the ability to fully contact the substrate). This ensures a stronger bond and is crucial for preventing the frustrating "silvering" effect. Because the required temperature is low, this setting offers the shortest warm-up time.
Environmental: The ambient temperature of your workspace plays a minor but measurable role.
Starting the machine in a cold basement (e.g., 15°) versus a standard office environment (22°) will slightly lengthen the initial warm-up time, as the machine has a greater thermal gap to bridge.
How to Properly Determine "Ready" Status
Never trust the clock alone. Knowing when your machine is truly ready is critical to achieving a flawless finish.
The Secret of the Indicator Light
All modern laminators are equipped with a thermal feedback system. This is usually communicated via an indicator light that transitions from a warning color (e.g., Red/Amber) to a ready color (Green/Blue). This light signals that the internal heating element has reached the target temperature.
Thermometer Calibration (For Professional Users)
For print shops and high-stakes projects, the internal sensor may not tell the whole story. Many professionals utilize a non-contact infrared thermometer to verify the temperature of the actual roller surface. This ensures that the heat has successfully transferred from the element to the point of contact with the film.
The "Wait a Little Longer" Principle
This is the most crucial piece of advice: When the "Ready" light illuminates, wait an additional 1–3 minutes.
The light signifies that the internal sensor is satisfied. However, achieving uniform thermal equilibrium across the entire length of the heavy rubber or metal rollers takes slightly longer. By observing the "Wait a Little Longer" principle, you ensure the entire roller system is consistently at the optimal temperature, which is the best defense against inconsistencies, peeling edges, and unsightly air bubbles.
Understanding the "why" behind the wait transforms the preheating process from a moment of frustration into a productive, predictable part of your professional workflow.
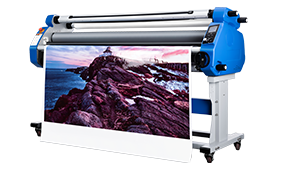
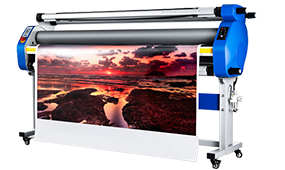
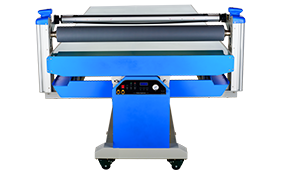
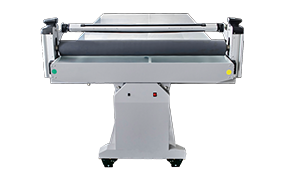
 Premium Series